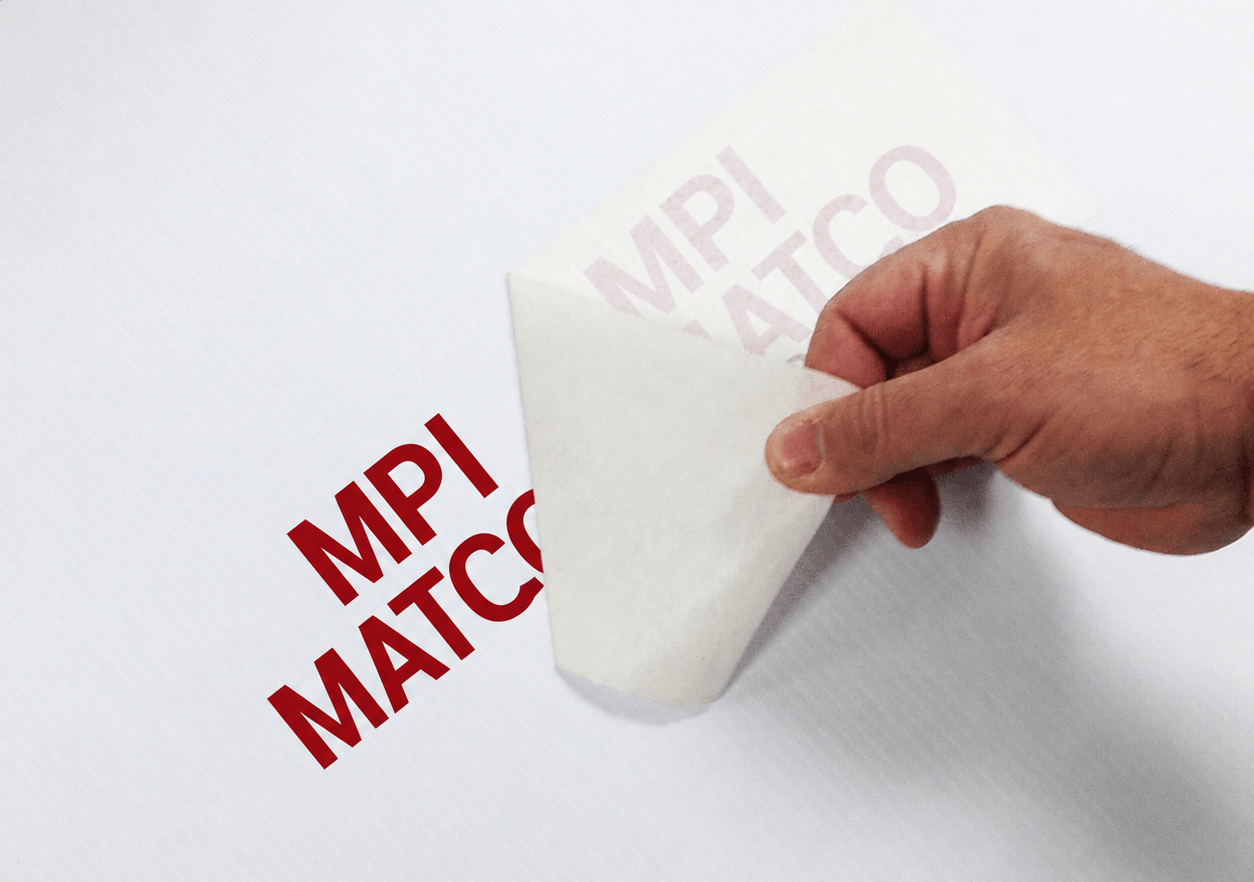
Transfer tape is an essential part of many vinyl graphics applications. While the vinyl carries the design, the transfer tape holds the individual elements together, allowing them to be lifted from the release liner and positioned accurately on the final surface.
Whether you’re installing vehicle graphics, wall decals, window lettering, or retail signage, selecting the right transfer tape can make the application process easier and help achieve more consistent results. The wrong transfer tape may make graphics difficult to release, reduce positioning accuracy, or complicate installation.
Because transfer tapes are available in different materials, tack levels, and widths, understanding the needs of your application is the first step toward choosing the right product.
1. Start with Your Application
Before selecting a transfer tape, consider what type of graphic you’re installing.
Questions to ask include:
- Is the graphic large or small?
- Does it contain fine lettering or intricate details?
- Will it be applied indoors or outdoors?
- Is the vinyl cast or calendared?
- Will the graphic be installed on a flat or slightly curved surface?
A simple decal may require a different transfer tape than a large multi-panel sign or a vehicle graphic. Choosing a tape that matches the application helps improve handling throughout the installation process.
2. Paper vs. Clear Transfer Tape
One of the first decisions is choosing between paper and clear transfer tape. Each offers advantages depending on the application.
Paper Transfer Tape
Paper transfer tape is widely used in sign shops because it is easy to handle and can often be written on with markers for identification or job tracking.
Common advantages include:
- Flexible and easy to apply
- Suitable for many general vinyl graphics
- Easy to trim during production
- Can be labeled with job information
Paper transfer tapes are commonly used for decals, lettering, banners, and general sign production.
Clear Transfer Tape
Clear transfer tape allows installers to see the graphic and substrate during application.
This visibility can be particularly helpful when:
- Aligning graphics with printed reference marks
- Installing multi-layer graphics
- Positioning detailed lettering
- Applying decals that require precise placement
Because the tape is transparent, installers can monitor alignment throughout the application process.
Neither option is universally better—the best choice depends on the installation requirements and personal preference.
3. Select the Appropriate Tack Level
Transfer tapes are available with different levels of adhesion, often referred to as tack.
Choosing the proper tack level is important because the tape must hold the vinyl securely while still releasing cleanly after installation.
Low-Tack Transfer Tape
Low-tack products are often selected for:
- Large graphics
- Lightweight vinyl films
- Graphics that release easily from their liner
Lower tack reduces the chance of lifting the vinyl during tape removal.
Medium-Tack Transfer Tape
Medium-tack transfer tapes are commonly used for general-purpose sign applications and work well with many standard vinyl films.
They provide a balance between holding power and clean release.
High-Tack Transfer Tape
High-tack products are generally used for more demanding applications, including:
- Small lettering
- Detailed graphics
- Textured vinyl
- Heavier vinyl films
- Graphics that are difficult to lift from the release liner
Selecting more adhesion than necessary does not always improve performance, so matching the tack level to the vinyl is usually the best approach.
4. Choose the Right Width
Transfer tape should be wide enough to cover the entire graphic while minimizing unnecessary waste.
Using a roll that closely matches the size of the graphic offers several advantages:
- Easier handling
- Less trimming
- Reduced material waste
- Faster production
Transfer tapes are available in multiple roll widths to accommodate everything from small decals to large commercial graphics.
For oversized graphics, installers may also apply transfer tape in overlapping sections when appropriate.
5. Consider the Installation Method
The application method can also influence transfer tape selection.
Some installers prefer paper transfer tape because its textured surface is easy to grip during installation.
Others prefer clear transfer tape when visual alignment is especially important.
Installation methods may also vary depending on:
- Graphic size
- Surface type
- Vinyl manufacturer recommendations
- Installer experience
Following the vinyl manufacturer’s installation guidelines is always recommended, particularly for specialty films and premium graphic materials.
6. Check Compatibility with the Vinyl
Not every transfer tape performs the same with every vinyl film.
Factors that influence compatibility include:
- Vinyl thickness
- Surface finish (matte or gloss)
- Adhesive formulation
- Release liner construction
If you’re working with specialty films, reflective materials, textured vinyl, or wall graphics, testing the transfer tape before beginning production can help prevent application issues.
Many manufacturers provide compatibility recommendations for their transfer tapes and vinyl products.
7. Consider Ease of Removal
A transfer tape should hold the graphic securely during installation but remove cleanly once the vinyl has adhered to the application surface.
Removal performance depends on several factors, including:
- Tape tack
- Vinyl type
- Application pressure
- Surface condition
- Environmental temperature
Removing the transfer tape slowly and at a consistent angle often helps reduce the chance of lifting the vinyl after installation.
Tips for Better Results
Regardless of the transfer tape selected, following a few best practices can improve application quality.
- Store transfer tape in a cool, dry environment.
- Keep rolls clean and protected from dust.
- Apply firm, even pressure across the graphic before lifting it from the release liner.
- Test compatibility when using a new combination of vinyl and transfer tape.
- Follow the manufacturer’s recommendations for both the vinyl and the transfer tape.
These simple steps can help reduce installation issues and improve overall consistency.
Transfer tape plays an important role in successful vinyl graphic installation. Choosing the right product involves more than selecting a roll that fits the graphic—it requires considering the type of vinyl, the level of adhesion, the application method, and the desired installation accuracy.
Whether you choose paper or clear transfer tape, selecting a product that matches the project requirements can simplify installation and help produce cleaner, more reliable results. By understanding the characteristics of different transfer tapes and following proper application practices, installers can improve efficiency while protecting the quality of the finished graphic.